Without handling page redirection in case of session expiration in JSF standard implementation, you will get the Internal server error with javax.faces.application.ViewExpiredException thrown from JSF engine.

If you're working with standard implementation of JSF (no extended jsf component like myfaces or icefaces), the solution for redirecting page when session has expired is simply to define <error-page> tag in web.xml like this.
<error-page>
<exception-type>javax.faces.application.ViewExpiredException</exception-type>
<location>/faces/target.xhtml</location>
</error-page>
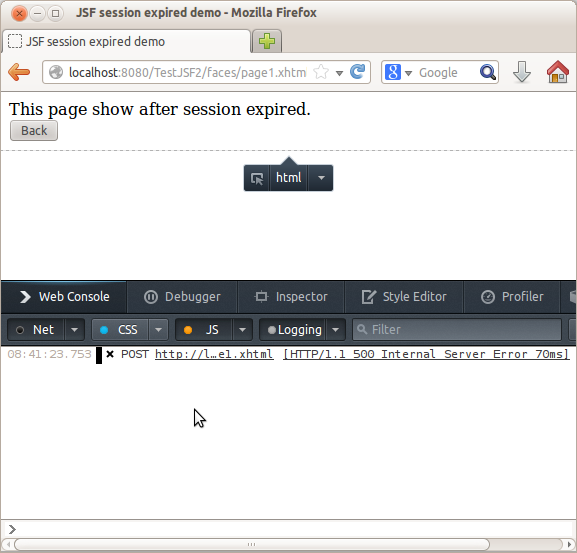
After applying error handling for ViewExpiredException, client still receive Internal Server Error but page redirection is completely loaded (Actually the page is forwarded instead of redirected).
Icefaces has its own mechanism for handling view states. Components shown in web browser are updated from server by controller called bridge which is javascript ajax that manage connection states.
When session expired is detected, popup message appear to show status.

Using jsf.ajax to handing session expired error and redirect to another page.
Standard JSF2.x implementation support Ajax by providing jsf.js as javascript resource. By adding the following tag with <head> tag of html document you can use several functions supported by ajax library.
<h:outputScript library="javax.faces" name="jsf.js"/>
Using Icefaces, you don't need to include above tag into your page source. It bundles this file automatically so you can write call back function jsf.ajax.addOnError that supported by jsf.js to receive exceptions from the bridge. Put the following javascript somewhere in body tag to detect SessionExpiredException.
<script type="text/javascript">
jsf.ajax.addOnError(function(data) {
if (data.responseText.indexOf("SessionExpiredException") > 0) {
window.location = "page2.jsf";
}
});
</script>
Whenever the bridge javascript caught SessionExpiredException, the added call back function will redirect to another page.

Although the redirection is completed, you still see a popup message just a second before redirection. To get rid of the popup message, you have to add the following context parameter to web.xml.
<context-param>
<param-name>org.icefaces.disableDefaultErrorPopups</param-name>
<param-value>true</param-value>
</context-param>
